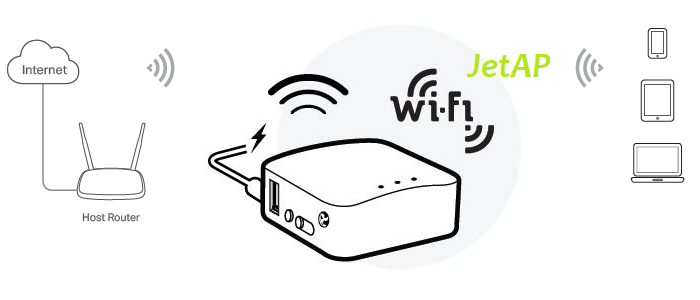
How to setup a Wi-Fi bridge?
1. Connect your JetAP via Ethernet or Wi-Fi and visit the admin page of it.
The default Wi-Fi name of JetAP is ‘JetAP_XXXX’ and the password is ‘jetapple’.
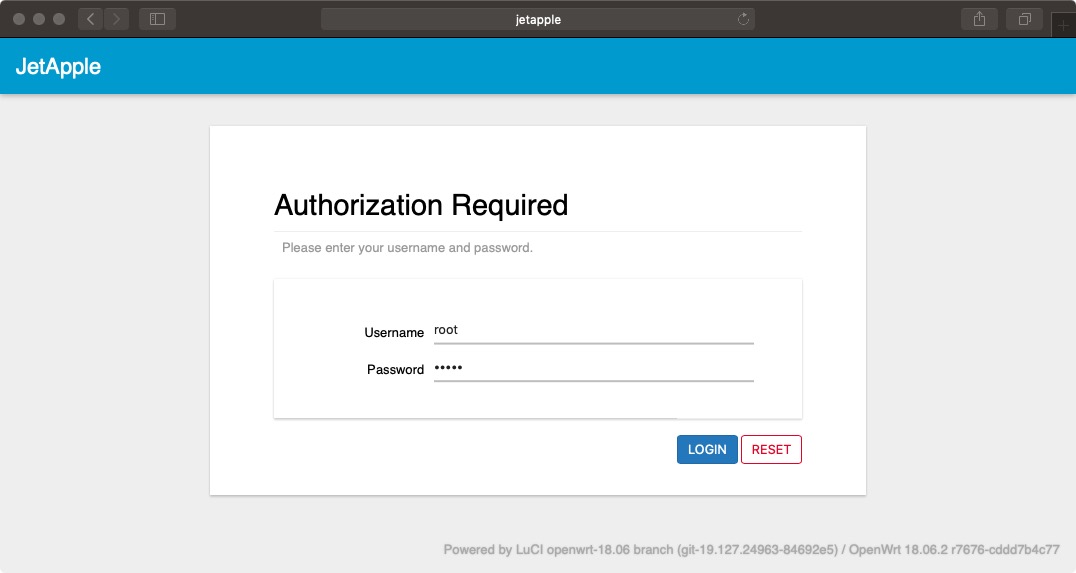
2. Click on the JetAP Administrator link, then login into the JetAP.
The default username is ‘root’ and the password is the first 7 characters of DDNS which is printed in the back label of your JetAP.
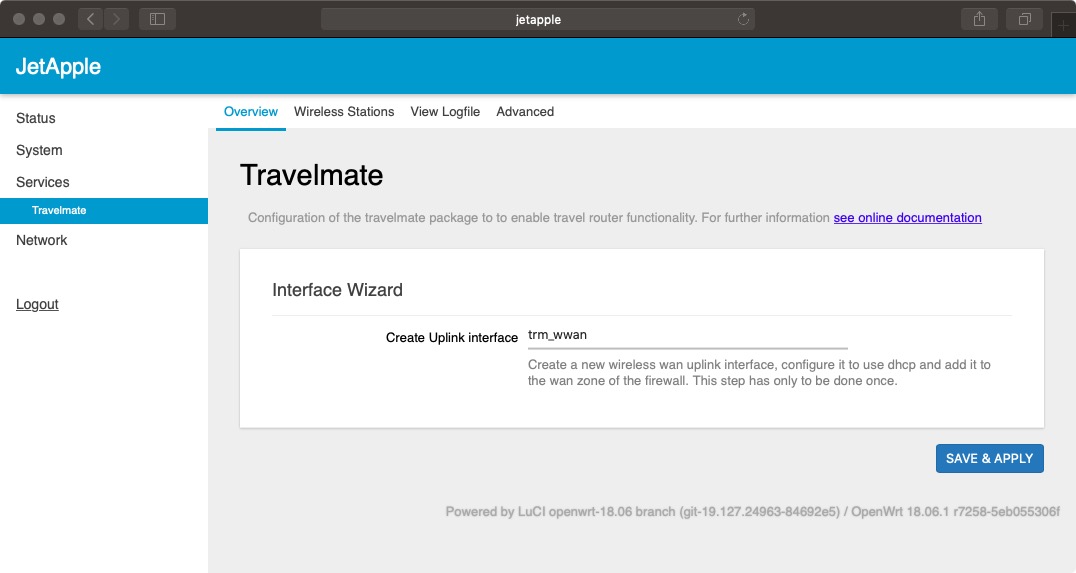
3. In the Service menu, choose Travelmate.
In the Overview tab, click the SAVE & APPLY button to create a new wireless uplink interface.
* This step has only to be done once.
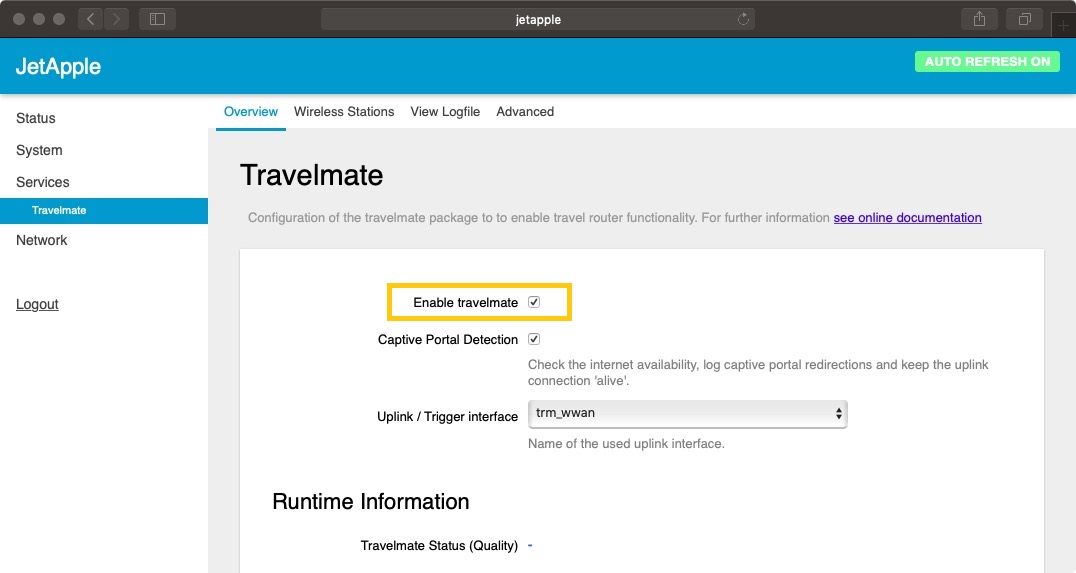
4. Check the Enable Travelmate option.
Then scroll down to the bottom of the page and click the SAVE & APPLY button.
* This step has only to be done once.
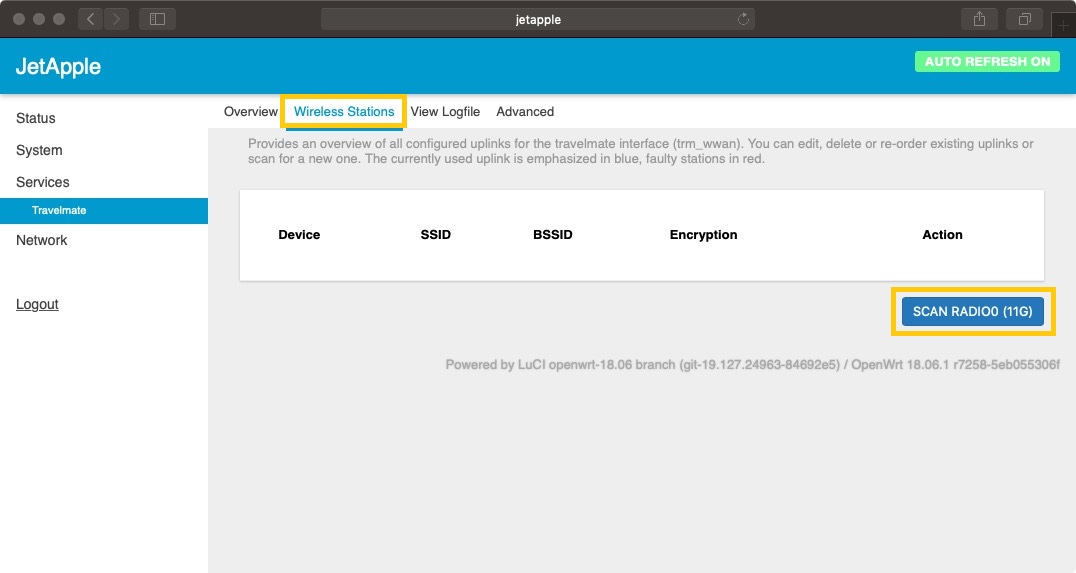
5. In the Wireless Stations tab, click the SCAN RADIO button to scan the wireless stations around you.
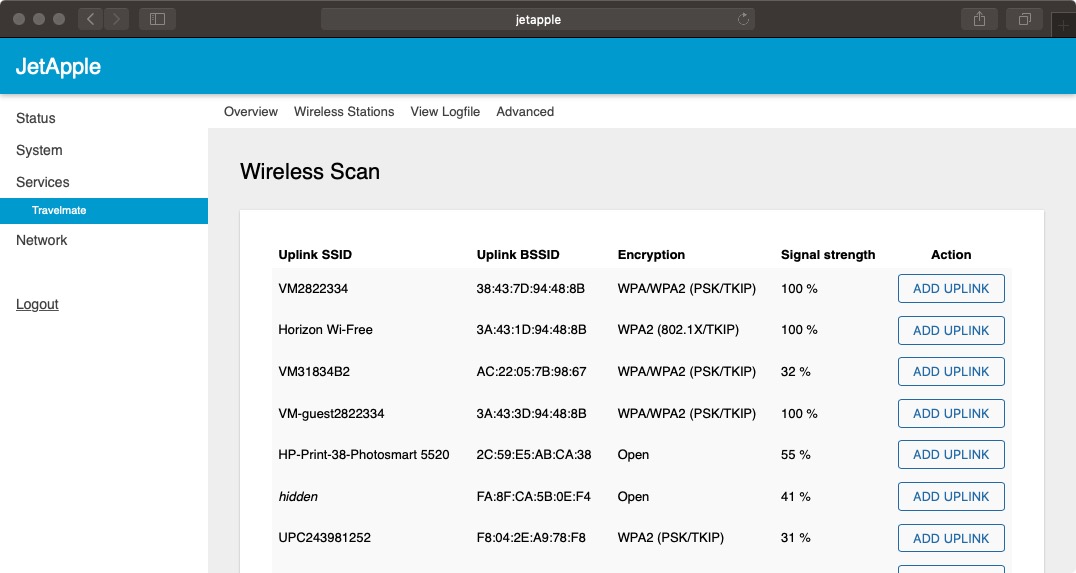
6. In the Wireless Scan results, choose a wireless station that you want to connect to, then click the ADD UPLINK button right to it.
7. Input the Wi-Fi password in the WPA-Passphrase field, then click the SAVE button.
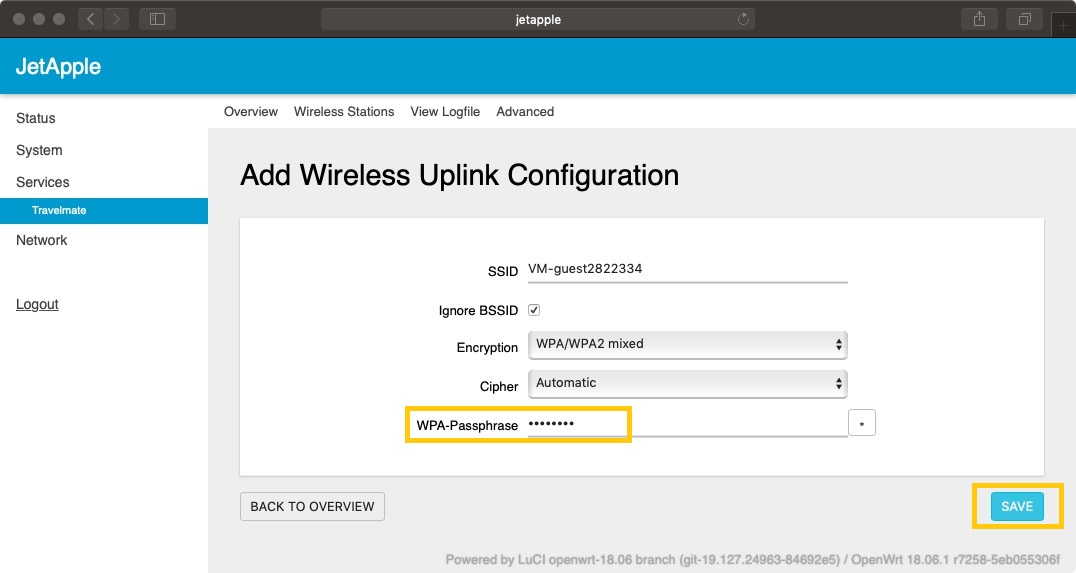
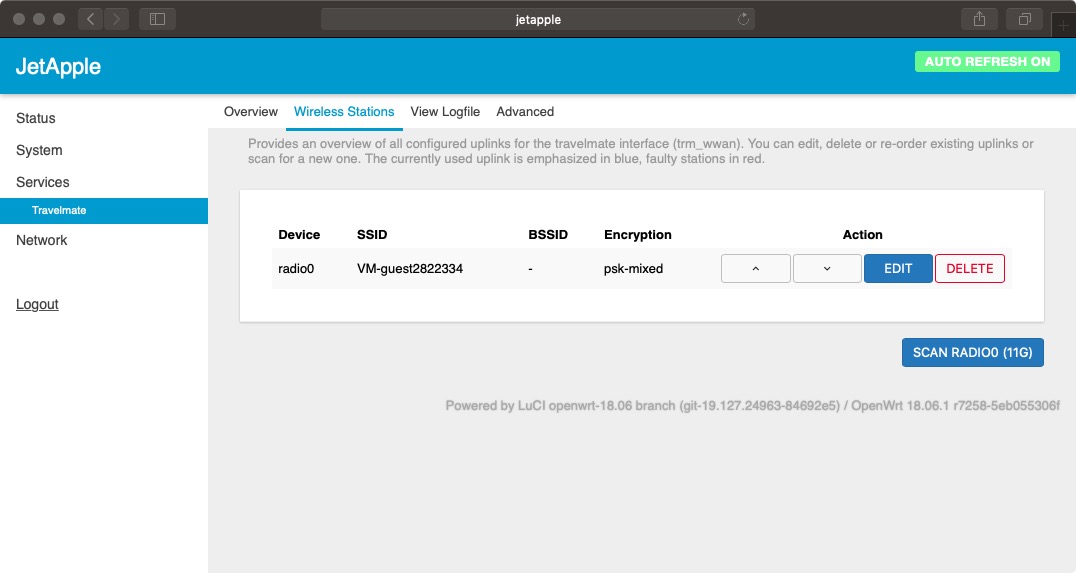
That’s it! The Wireless Uplink Configuration has been added to the list of wireless stations and JetAP will connect to it automatically.
You can also delete the station here if you don’t want the JetAP to connect to it any more.
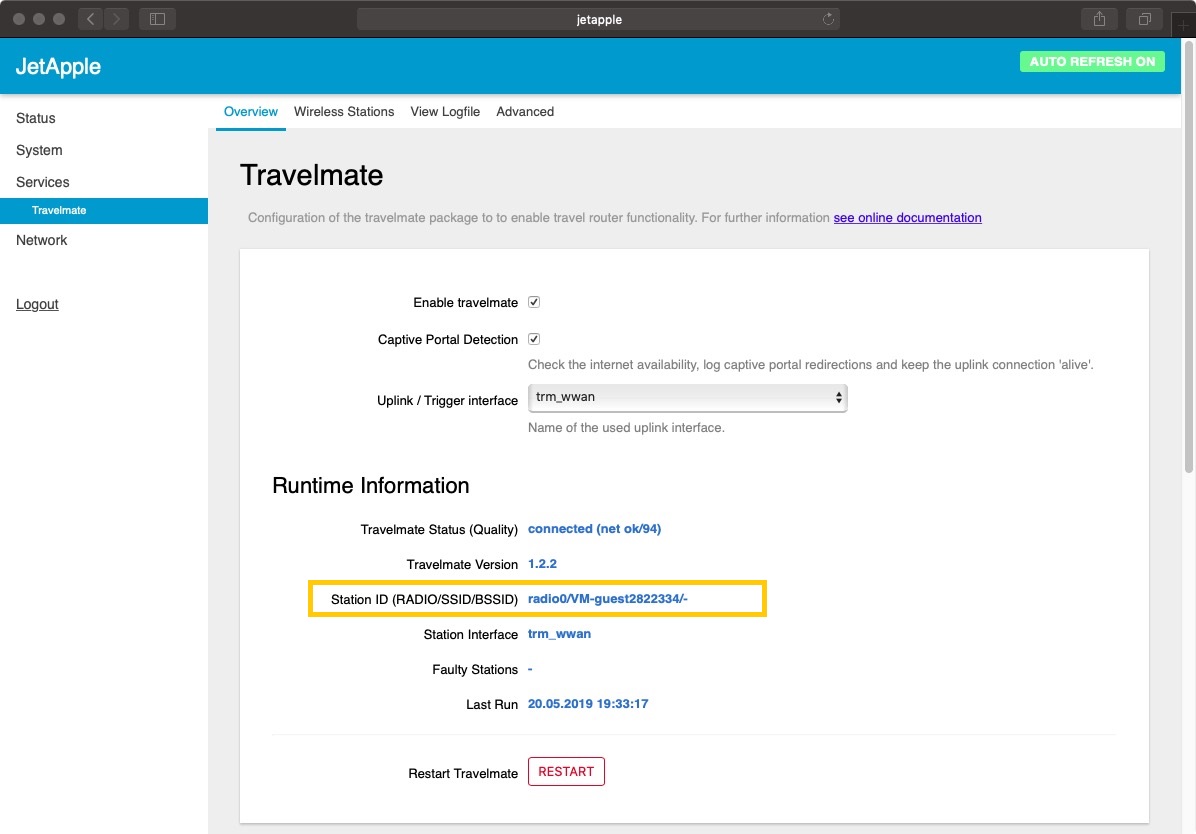
You can check which wireless station is being connected to in the Overview page of Travelmate.
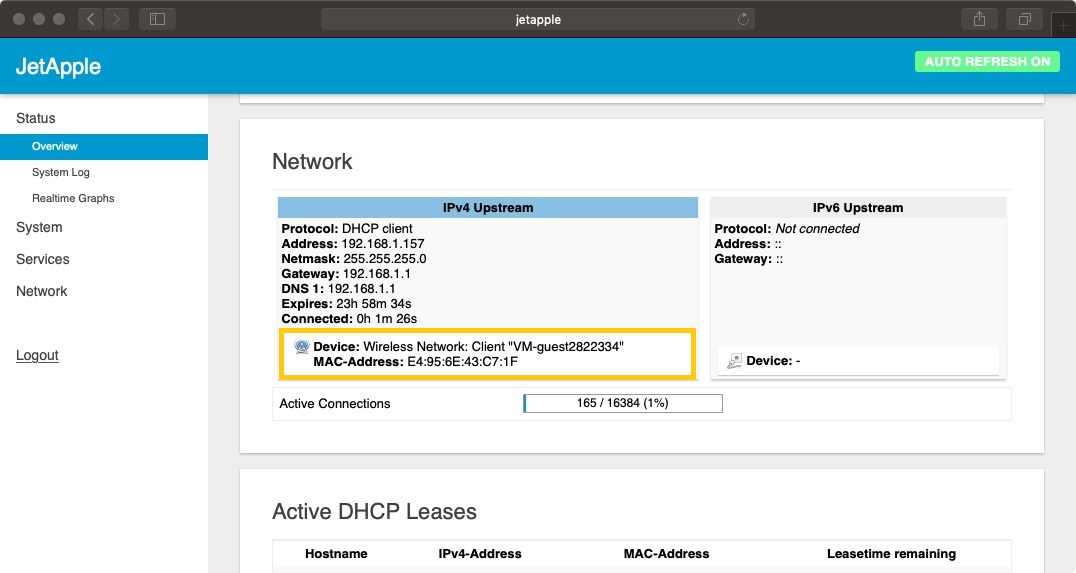
You can also check the upstream network status in the Overview of Status menu, Network section.
